
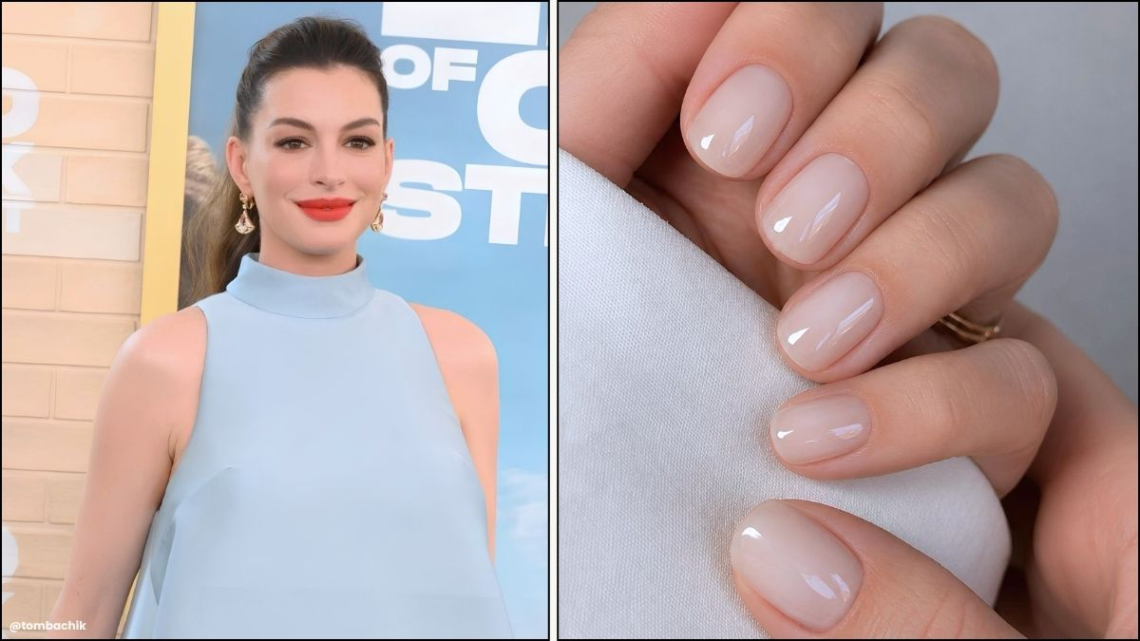
Let’s be completely honest: nail trends over the last few years have been a bit exhausting. Between intricate 3D chrome swirls, heavy velvet gels, airbrushed aura designs, and extreme coffin lengths, maintaining a stylish manicure has sometimes felt like taking on a second job. If you miss a single fill appointment or chip an intricate design, the whole look falls apart immediately.
Enter the Coconut Jelly Nail.
Popularized by style icons like Anne Hathaway, this trend is the complete opposite of loud, high-maintenance nail art. It’s fresh, soft, understated, and intentionally minimalist. If you love the look of healthy, impeccably groomed nails that catch the light like a sheet of hand-poured glass, this trend was practically built for your daily routine.
The best part? You don’t need two-inch acrylic extensions, expensive salon appointments, or hours of free time to pull it off. The entire magic of the coconut jelly manicure relies on sheer color, hydrated cuticles, and a dripping-wet, ultra-glossy top coat.
What Exactly Are Coconut Jelly Nails?
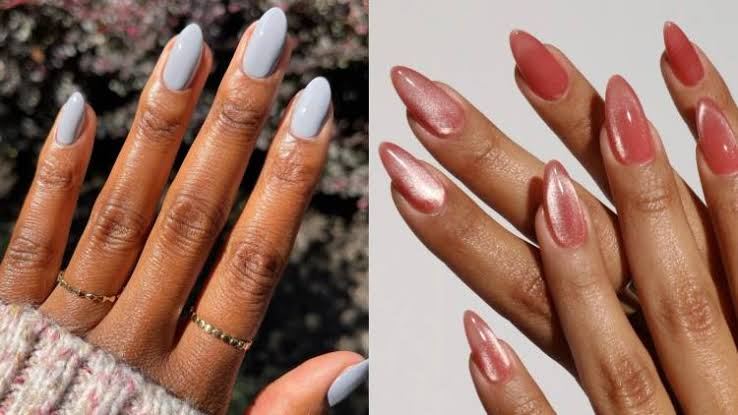
Think about the soft, semi-translucent, milky-white flesh of a fresh young coconut or a delicate bowl of coconut jelly dessert: it is soft, slightly see-through, impossibly smooth, and delicate. That is the exact aesthetic inspiration behind this look.
                  OPAQUE WHITE vs. COCONUT JELLY
┌─────────────────────────────────────────────────────────────┐
│ Opaque White: Solid, chalky, hides the natural nail bed.     │
│ Coconut Jelly: Sheer, milky veil, lets natural nail show.   │
└─────────────────────────────────────────────────────────────┘
Unlike classic white nail polish—which can sometimes end up looking like you painted your fingers with office liquid paper or white correction fluid—coconut jelly polish is intentionally semi-sheer. Instead of creating a heavy mask over your hands, it leaves a soft, milky glaze over your natural nail bed, finished with a plump, high-shine top coat that gives it a squishy, jelly-like depth.
Why Everyone Is Obsessed with This Look
Beauty trends frequently swing between extreme drama and low-maintenance minimalism. Right now, the fashion world is leaning heavily into quiet luxury, “clean girl” aesthetics, and low-effort beauty that looks expensive without trying too hard.
The coconut jelly manicure hits that sweet spot perfectly:
- Zero Clashing: It acts as a true neutral. Whether you are wearing an oversized gray tracksuit, a structured work blazer, casual denim, or a formal evening gown, these nails complement your outfit rather than competing with it.
- Forgiving Regrowth: Because the base color is semi-translucent, you won’t get that harsh, obvious line near your cuticles when your nails start growing out after a week.
- Flatters Short Nails: You don’t need press-on extensions or long acrylic tips. In fact, this milky-white glaze looks exceptionally chic on short, neatly rounded natural nails.
- Blurs Imperfections: A sheer milky veil subtly disguises minor discoloration, yellowing, or ridges on your natural nails while still keeping them visible.
How Coconut Jelly Compares to Other “Clean Girl” Trends
It is easy to get confused with all the minimalist nail names floating around social media. Here is how the coconut jelly look stacks up against other popular minimalist manicures:
| Trend Style | The Color Vibe | The Finish | Best Used For… |
|---|---|---|---|
| Coconut Jelly | Translucent milky-white | High-gloss, glass-like depth | Effortless, healthy-looking everyday elegance |
| Soap Nails | Bare pink or translucent nude wash | Squeaky-clean wet shine | Looking like you just walked out of a luxury spa |
| Milky Bath | Off-white with faint floral hints | Creamy, semi-sheer glaze | Soft, romantic events and weddings |
| Glazed Donut | Iridescent pearl shimmer | Metallic or chrome sheen | Adding a touch of party shimmer to neutral polish |
| Classic French | Crisp white tips with pink base | Traditional clean contrast | Formal workplace settings and timeless events |
The Ultimate DIY Guide: How to Get the Look at Home
You do not need to spend big bucks at a boutique salon to achieve this look. In fact, because minimalist manicures are all about neatness rather than intricate artistic skills, this is one of the easiest nail trends to recreate at home.
                        THE DIY PROCESS
  ┌─────────────┐     ┌─────────────┐     ┌─────────────┐
  │  Prep &     │     │ Sheer Layers│     │ Glass-Like  │
  │  Buff Nails ├────>│  (1 to 2)   ├────>│  Top Coat   │
  └─────────────┘     └─────────────┘     └─────────────┘
Step 1: Prep the Canvas (Don’t Skip This!)
Because sheer polishes allow your natural nail underneath to show through, proper prep work is essential. Any rough edges, dry cuticles, or uneven ridges will be visible under a translucent coat.
- Wash your hands thoroughly and gently push back your cuticles using a wooden cuticle stick.
- File your nails into your preferred shape. Short rounded or soft square shapes work best for an effortless vibe.
- Lightly buff the surface of your nails with a fine-grit buffer to smooth out ridges and create an even surface.
- Wipe each nail with rubbing alcohol or nail polish remover to strip away natural oils and dust.
Step 2: Apply a Ridge-Filling Base Coat
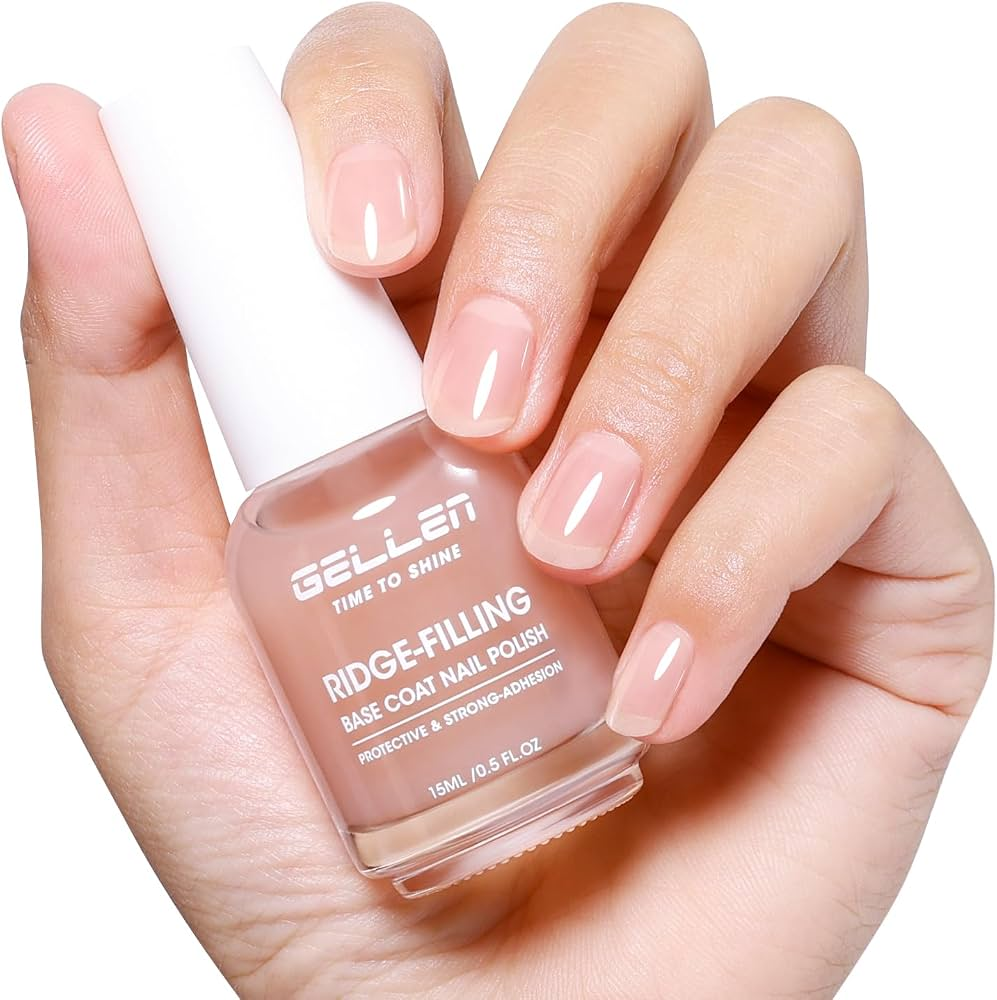
Apply a thin layer of a clear or slightly tint-correcting base coat. A ridge-filling formula works wonders here because it creates a silky-smooth foundation, preventing the sheer polish from pooling in microscopic grooves.
Step 3: Build the Color in Thin Layers
The key to getting that squishy “jelly” look is applying thin, deliberate coats rather than one heavy layer:
- First Layer: Apply one very thin coat of sheer milky-white polish. Don’t panic if it looks almost invisible or a bit streaky at first—that transparency is what gives the finish its dimensional depth. Let it dry for 2 minutes.
- Second Layer: Apply a second thin coat to build up the milky opacity. Stop here! If you apply a third or fourth coat, you will lose the translucent jelly effect and end up with opaque white nails.
Genius DIY Hack: Don’t want to buy a new bottle of polish? You can easily mix your own coconut jelly shade! Take a bottle of clear top coat, drop 2 to 3 drops of your favorite opaque white polish into it, and shake it up. You now have a custom sheer milky glaze.
Step 4: Seal It with a High-Plump Top Coat
The signature hallmark of any jelly manicure is its high-shine, glass-like finish. Apply a generous layer of a plump, gel-effect top coat over your nails. Make sure to cap the free edge (the very tip of your nail) to prevent early chipping.
Finding the Right Shade for Your Skin Tone
Not all white polishes are created equal. Finding a undertone that complements your skin makes the difference between a manicure that looks expensive and one that looks wash-out chalky.
- Warm & Olive Skin Tones: Look for creamy, soft ivory, or warm coconut-milk shades. Stark, blue-toned whites can look too harsh or stark against warm undertones.
- Cool Skin Tones: Soft pink-whites, pale translucent rose, or icy milky shades complement pinker undertones effortlessly.
- Neutral Skin Tones: True sheer white, sheer porcelain, or translucent cream formulas will pop easily without clashing.
Quick Styling Variations to Try
If plain coconut jelly nails feel just a little too simple for your taste, you can easily add subtle twists without losing that ultra-clean aesthetic:
- Pearl Dust Touch: Apply your sheer milky base, then lightly dust a sheer pearl or fine chrome powder over the top before sealing with your top coat for an iridescent finish.
- Micro French Tips: Paint your nails with the sheer coconut jelly base, then use a tiny detail brush to draw a paper-thin line of solid white along the very edge of your nail tips.
- Milky Rose Hybrid: Swap pure white for a polish that blends 70% sheer milky white with 30% sheer baby pink for a flush of color that mimics natural nail health.
How to Make Your Manicure Last
Nothing ruins a clean look faster than chipped edges or dull surface shine. Here is how to keep your coconut jelly nails looking freshly applied for a week or more:
- Reapply Top Coat Every 3 Days: Adding a quick, thin coat of clear top coat mid-week restores that glass-like shine and seals any microscopic micro-cracks.
- Hydrate Your Cuticles Daily: Keep a bottle of cuticle oil or rich hand cream at your desk or nightstand. Hydrated skin makes any minimalist manicure look twice as expensive.
- Wear Gloves for Housework: Water and harsh dish detergents are the ultimate enemies of natural nail polish. Slip on rubber gloves when washing dishes or cleaning up.
Frequently Asked Questions (FAQs)
1. What is the difference between coconut jelly nails and regular white nails?
Regular white polish is fully opaque and completely covers your natural nail bed with a solid block of color. Coconut jelly polish is semi-sheer, creating a soft, milky veil that lets your natural nail shine through underneath.
2. Do coconut jelly nails look good on short nails?
Yes! They actually look incredible on short, natural nails. The clean, glossy finish makes hands look instantly manicured, neat, and long without requiring acrylic extensions.
3. How do I get the “jelly” effect if my polish is too opaque?
Simply mix a small drop of your regular opaque white polish into a clear top coat on a clean piece of foil or a glass dish, then brush it onto your nails. The clear coat thins out the heavy pigment, giving you that squishy, translucent jelly finish.
4. How long does a coconut jelly manicure last?
Because the polish application consists of very thin, sheer layers, it resists chipping much better than thick, heavy coats of opaque paint. With a solid gel-effect top coat, a natural DIY application typically lasts 5 to 7 days without issues.